
Wrapping one gift is a pleasure. Wrapping forty for clients, partners and colleagues is a project. Done well, presentation makes even a modest branded item feel special; done in a rush on the last afternoon, it can undo the care that went into choosing it. This checklist breaks the job into stages so your gifts look consistent, personal and ready on time.
Stage 1: Decide on one look
Business gifts look best when they share a clear, consistent style. Before buying any materials, decide on a simple “house look” for this year’s gifts.
- Choose one main paper or box colour, such as kraft, cream or deep green.
- Choose one tie: ribbon, cotton tape or natural twine.
- Choose one finishing touch: a sprig of greenery, a wooden star or a small bell.
- Choose one tag style, ideally plain card you can write on by hand.
Limiting the choices makes the job faster and gives every gift a recognisable, polished look.
Stage 2: Gather materials
Running out of tape halfway through is the most common cause of a wrapping marathon. Work out quantities in advance.
- Count gifts by size, because boxes and paper needs differ.
- Measure one example of each size and calculate paper and ribbon needs.
- Add a margin for mistakes and late additions.
- Stock up on tape, scissors, a pen that writes well on card and a few spare tags.
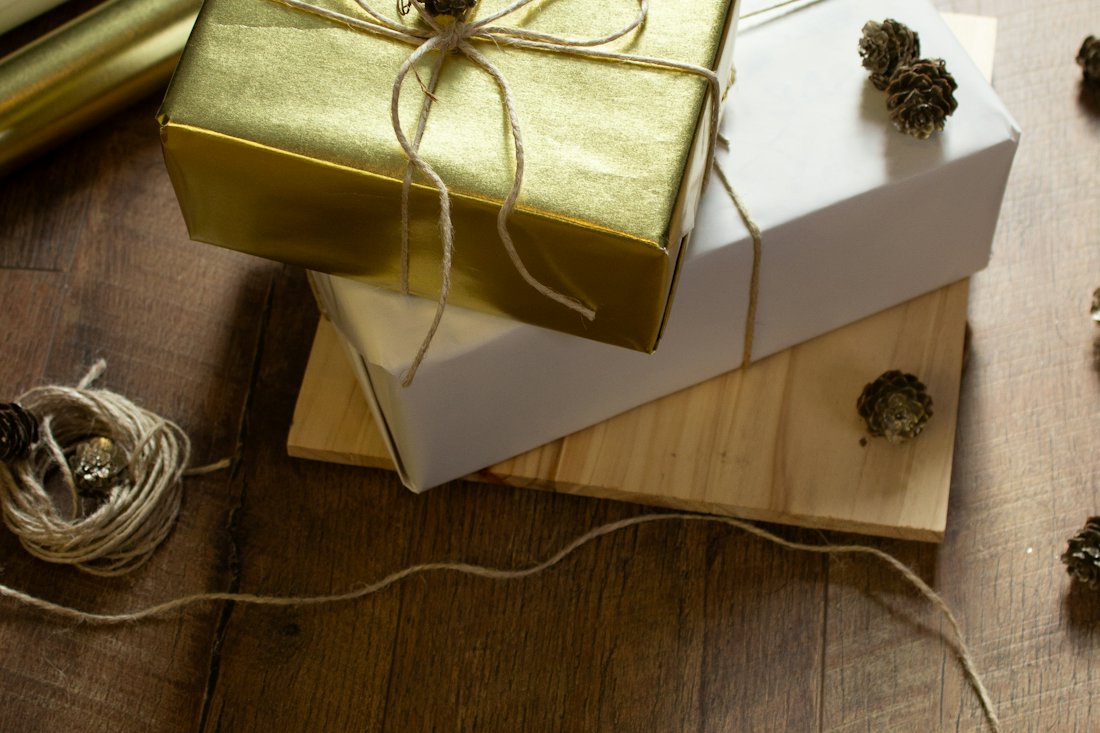
Stage 3: Set up a wrapping station
A clear, organised space makes the work quicker and the results neater.
- Use a large, clean table at a comfortable height.
- Keep paper, ties and tags in separate piles within reach.
- Have your recipient list printed or on screen beside you.
- Keep finished gifts in a separate area, sorted by delivery method.
- Keep drinks and food well away from the paper.
Stage 4: Wrap in batches
Wrapping in an assembly-line way is faster and more consistent than finishing each gift from start to end.
- Wrap all items of the same size together. Your folding becomes quicker and more even with repetition.
- Tie all gifts in one session. Ribbon and twine look neater when the technique stays the same.
- Add finishing touches last. Greenery stays fresher if added closer to the day of giving.
- Check each gift against the list. Tick off names as you go to avoid duplicates or gaps.
Share the work
If several people are wrapping, give each one a stage rather than a pile of gifts. One person wraps, another ties, a third adds tags. The results will look as though one pair of hands did them all.
Stage 5: Tags and cards
The tag tells the recipient who the gift is for; the card tells them why. Keep them separate, and give each the attention it deserves.
- Write tags clearly with the recipient’s name, and add the company name for clients and partners.
- Write cards in small batches over several days to keep each one personal.
- Attach cards securely, or tuck them under the ribbon, so they do not slip off in transit.
Stage 6: Prepare for delivery
Gifts that will be posted need a second layer of protection; gifts given in person do not.
- Place posted gifts in a snug outer box with paper padding.
- Label outer boxes clearly and keep a list of what was sent where.
- Group hand-delivered gifts by meeting, office or route.
- Store wrapped gifts somewhere cool and dry, away from radiators and sunlight.
Stage 7: A final check
Before gifts leave, take a moment to review them as a set. Are any tags missing? Is any ribbon crushed? Does every gift have its card? A five-minute check catches small problems that are easy to fix now and impossible to fix later.
Plan your wrapping days
Wrapping takes longer than most people expect, so put it in the calendar. For posted gifts, finish wrapping at least a few days before your posting date. For gifts given in person, wrap a week or so before your meetings and events, then add fresh greenery on the day. Spreading the work over two or three shorter sessions keeps the quality high from the first parcel to the last.
Consistency is what makes a pile of parcels look like a gift from one thoughtful company.
Takeaway. Choose one simple look, buy materials with a margin, set up a tidy station, wrap in batches, take your time over cards, protect posted parcels and do a final check. With a plan, wrapping becomes a calm, even enjoyable, part of the season.